Spring Birdies
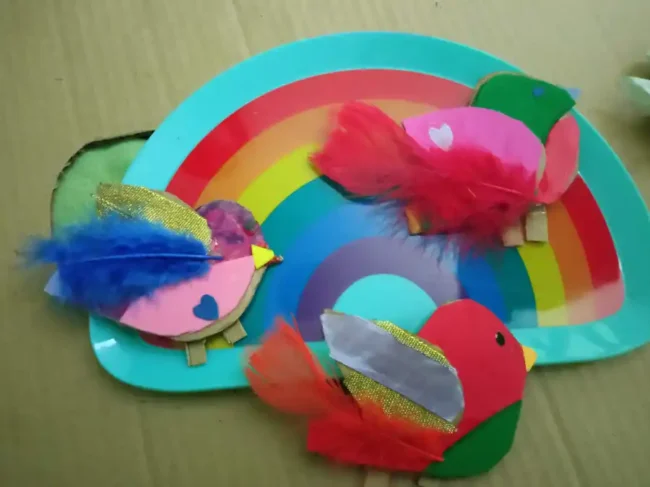
Imagine your children immersing themselves in a colorful and inspiring environment, where they can unleash their creativity and make a beautiful patchwork bird using recycled materials such as fabrics, buttons, feathers, and much more! Each child can use their imagination to create their own unique and personalized birdie. But it’s not just about fun, there are also many educational benefits in this creative workshop. Children will learn to think innovatively and find new uses for recycled materials, promoting environmental awareness and sustainability.
Performance
Here are the steps for a creative workshop where children can make a birdie using recycled materials and the decoupage technique.
Preparation
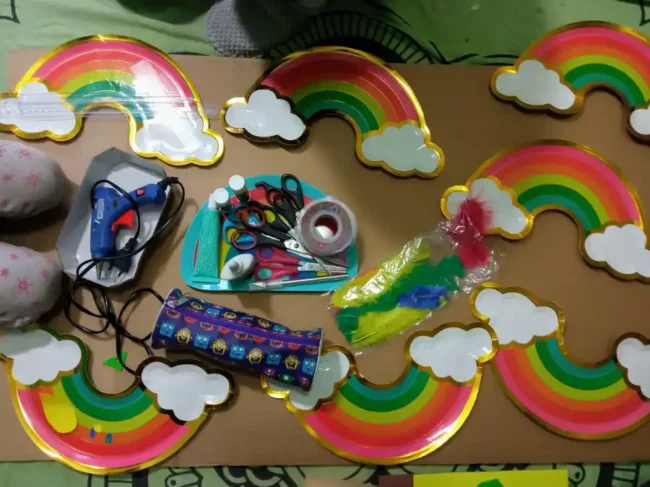
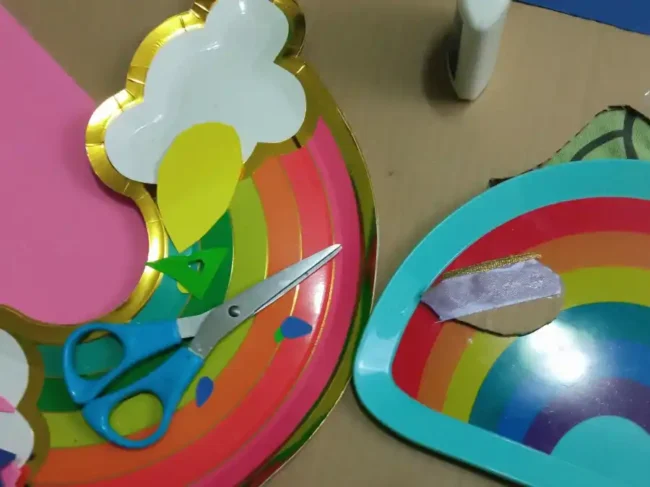
First, prepare the necessary materials, including cardboard, foam rubber, colorful fabrics, scissors, vinyl glue, and acrylic colors for decoupage.
You can also choose to use other recycled materials such as old buttons or pieces of thread.
The template
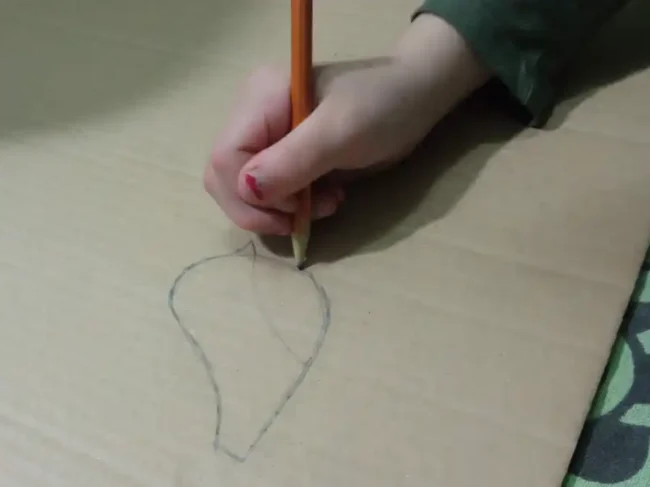
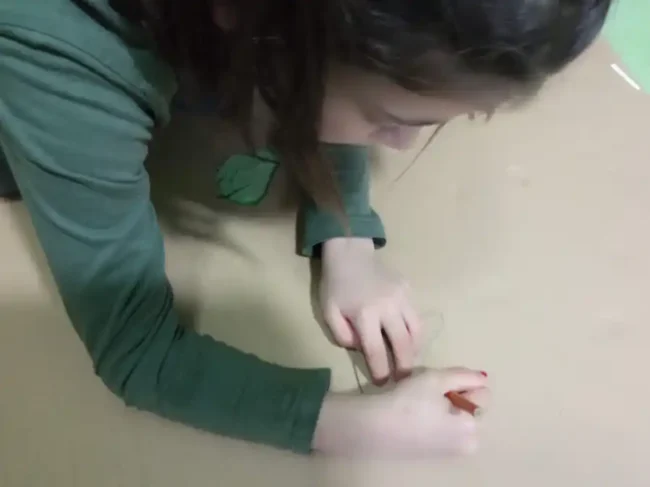
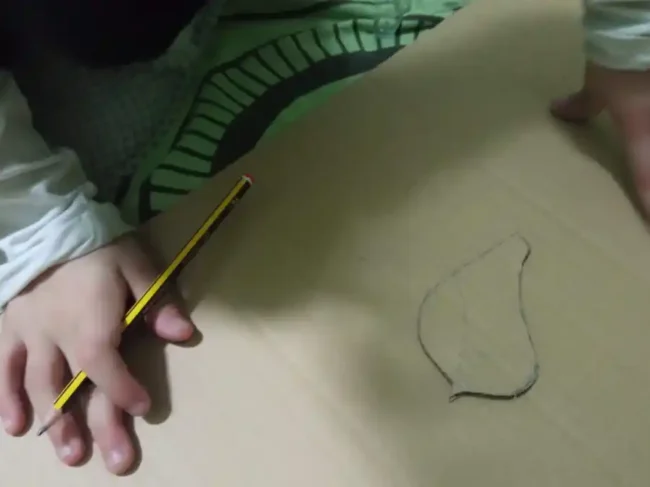
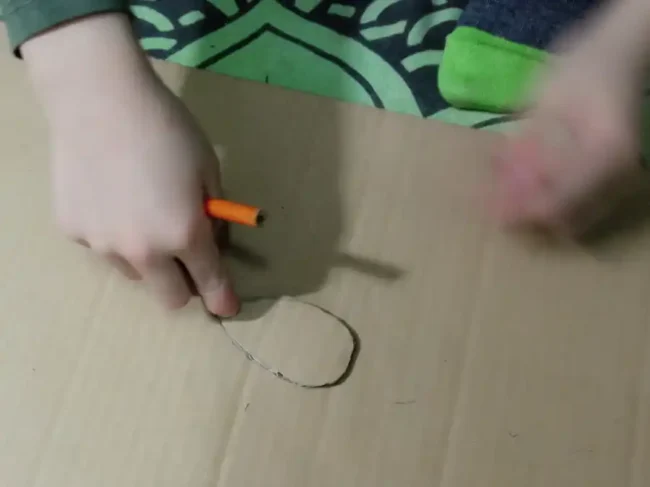
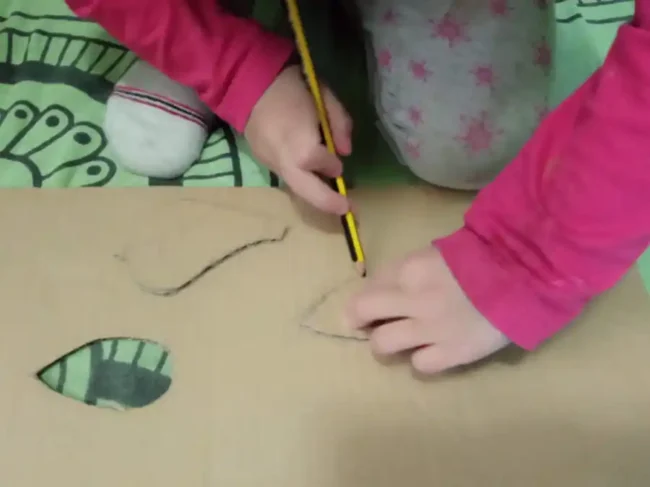
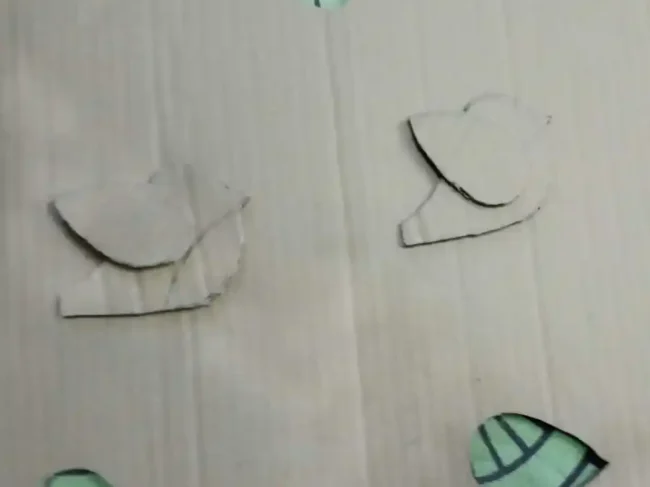
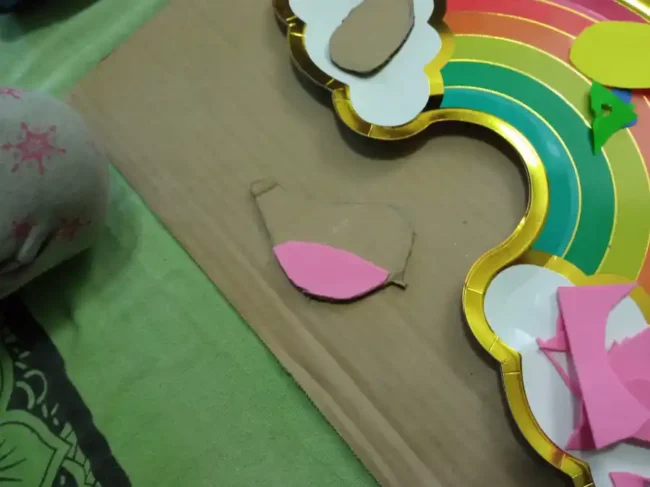
Draw the birdie template on the cardboard and cut it out with scissors. This will be the base of our birdie.
The wings
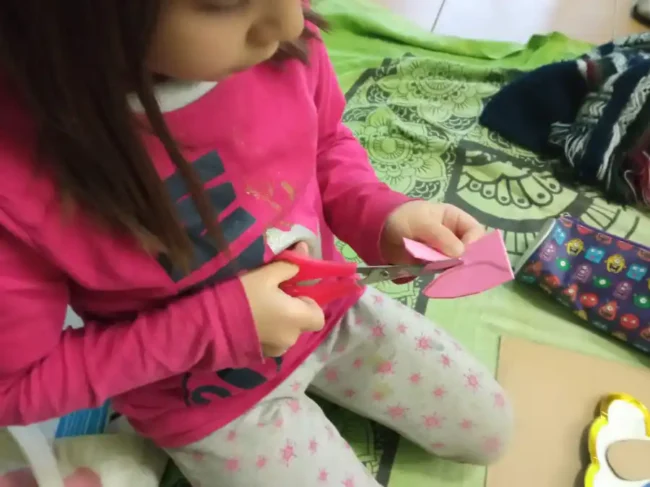
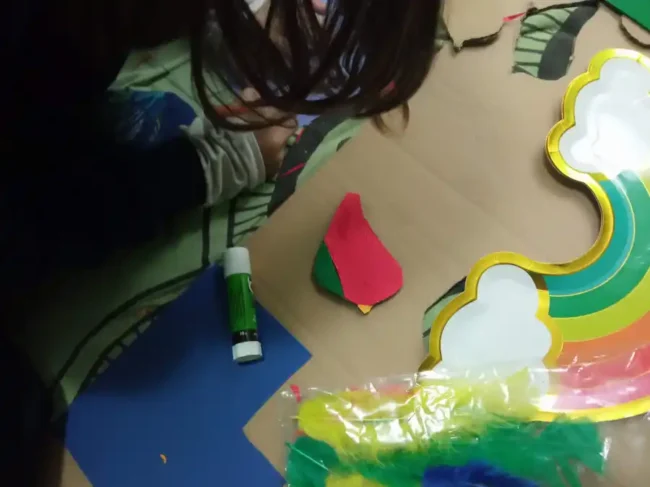
Cut out two wings of equal size from the foam rubber. Using vinyl glue, glue the wings to the base of the birdie.
The fabric
Using the decoupage technique, cover the birdie’s wings with small pieces of colorful fabric. You can use solid colors or patterned fabrics to create a patchwork effect. Once the fabric is applied, let the glue dry.
Decoration
Using acrylic colors for decoupage, decorate the rest of the birdie as desired. You can use brushes of different sizes and different colors to create a lively and colorful effect. Let it dry completely.
Final details
Once the birdie is dry, add the final details such as eyes, beak, and legs using other materials such as buttons or threads. Our patchwork birdie is ready!
This creative workshop not only offers children the opportunity to express their creativity, but also to learn to use recycled materials and appreciate the beauty of creative recycling.
