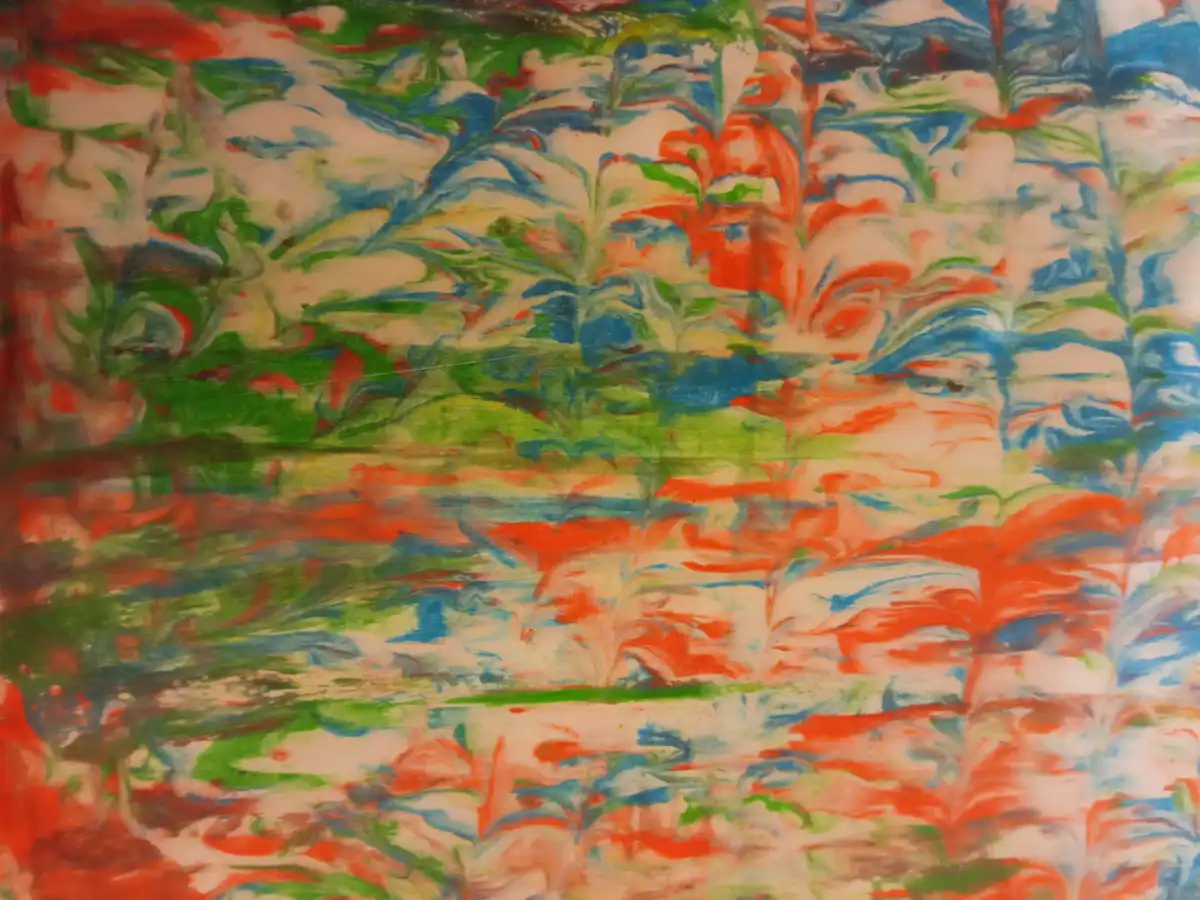
Marbled paper
A creative workshop for children that aims to make paper marbled with the technique of shaving foam is a fun and stimulating activity that can give children the opportunity to express their creativity and develop their artistic skills. In addition, this creative workshop is also perfect for younger children, who can actively participate with the help of an adult.
In this description, the steps to make the marbled paper will be illustrated, split into the different steps.
Performance
Preparation
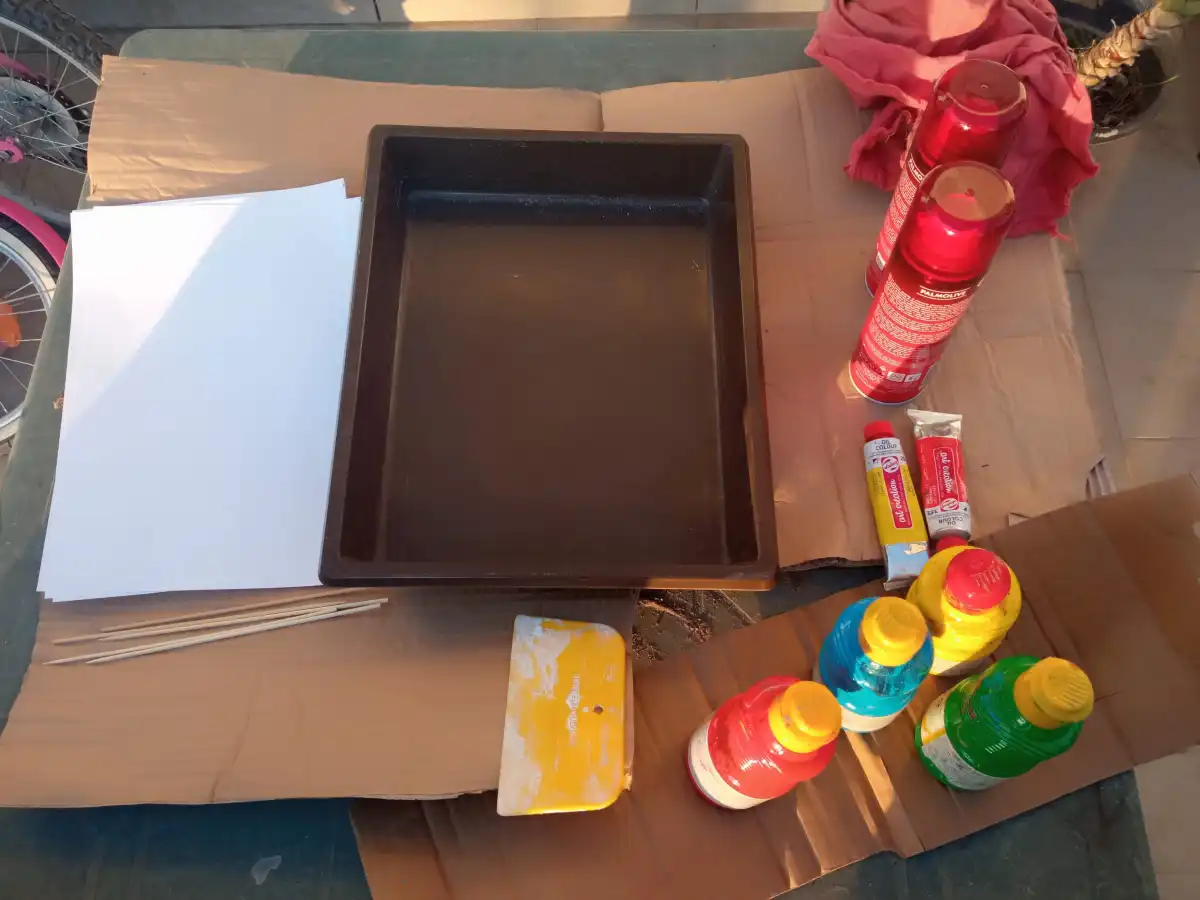
The first step consists in the preparation of the materials. To make marbled paper children will need a number of tools and materials. In particular of a shallow and wide tub, filled with shaving foam, acrylic colours or tempera, paper of different thicknesses and sizes, sticks or similar tools to create patterns and shapes on the foam, finally we will need a spatula or a similar tool to remove excess shaving foam from the sheets.
Creating
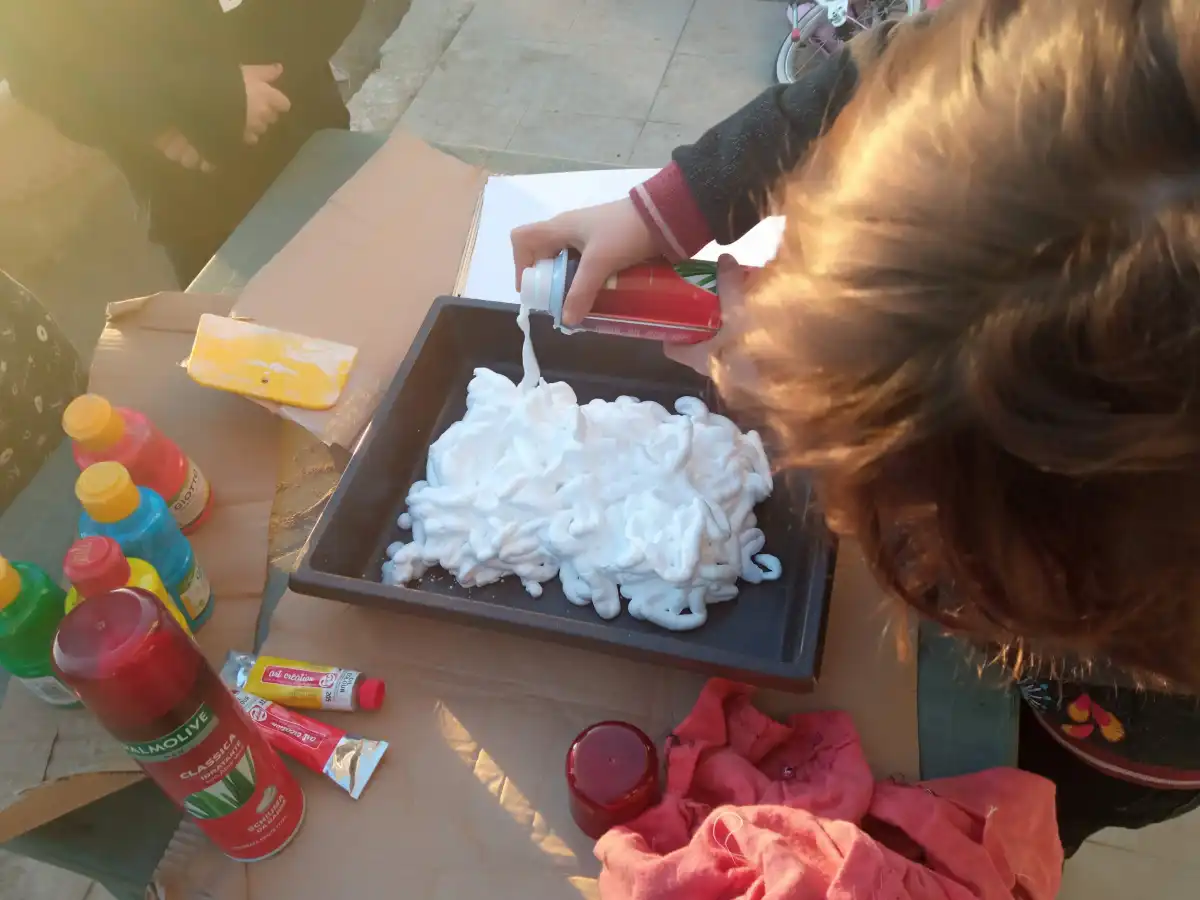
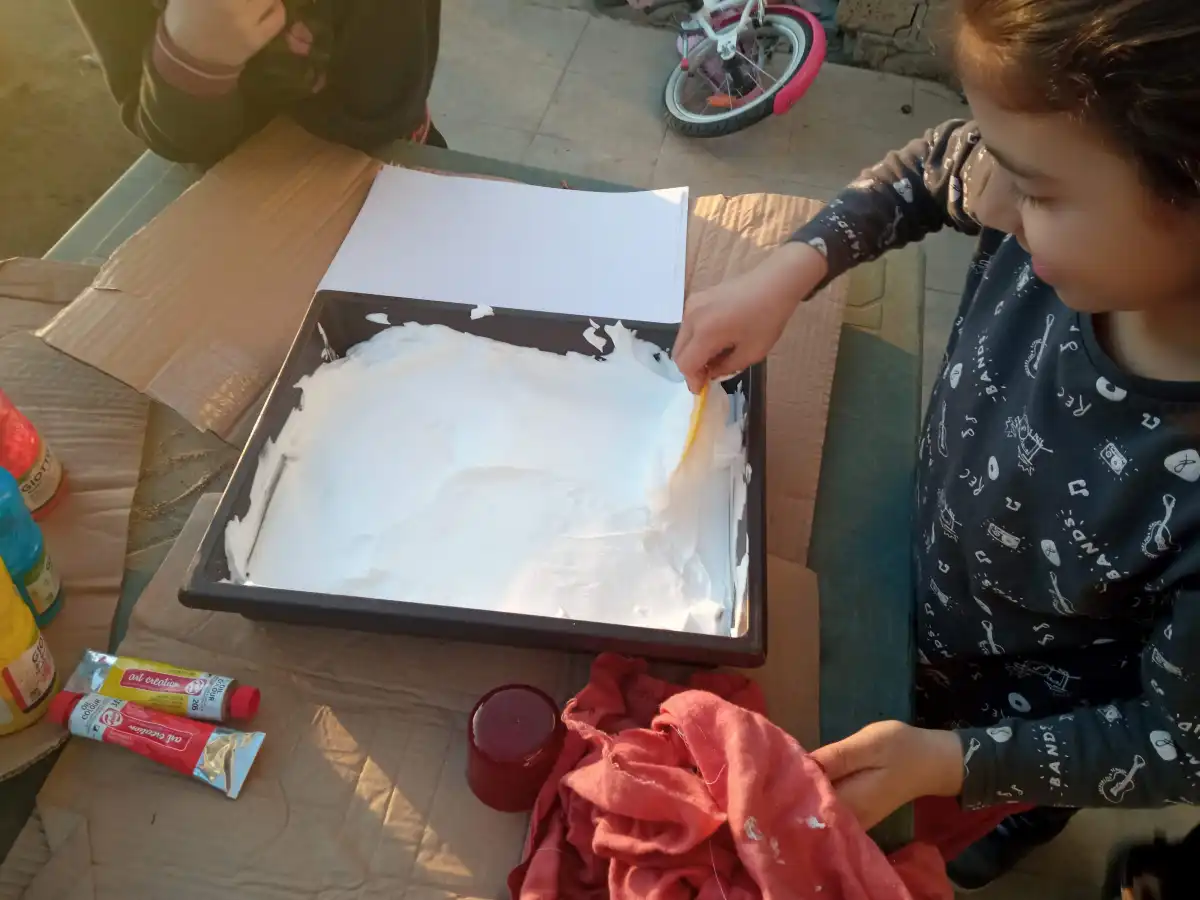
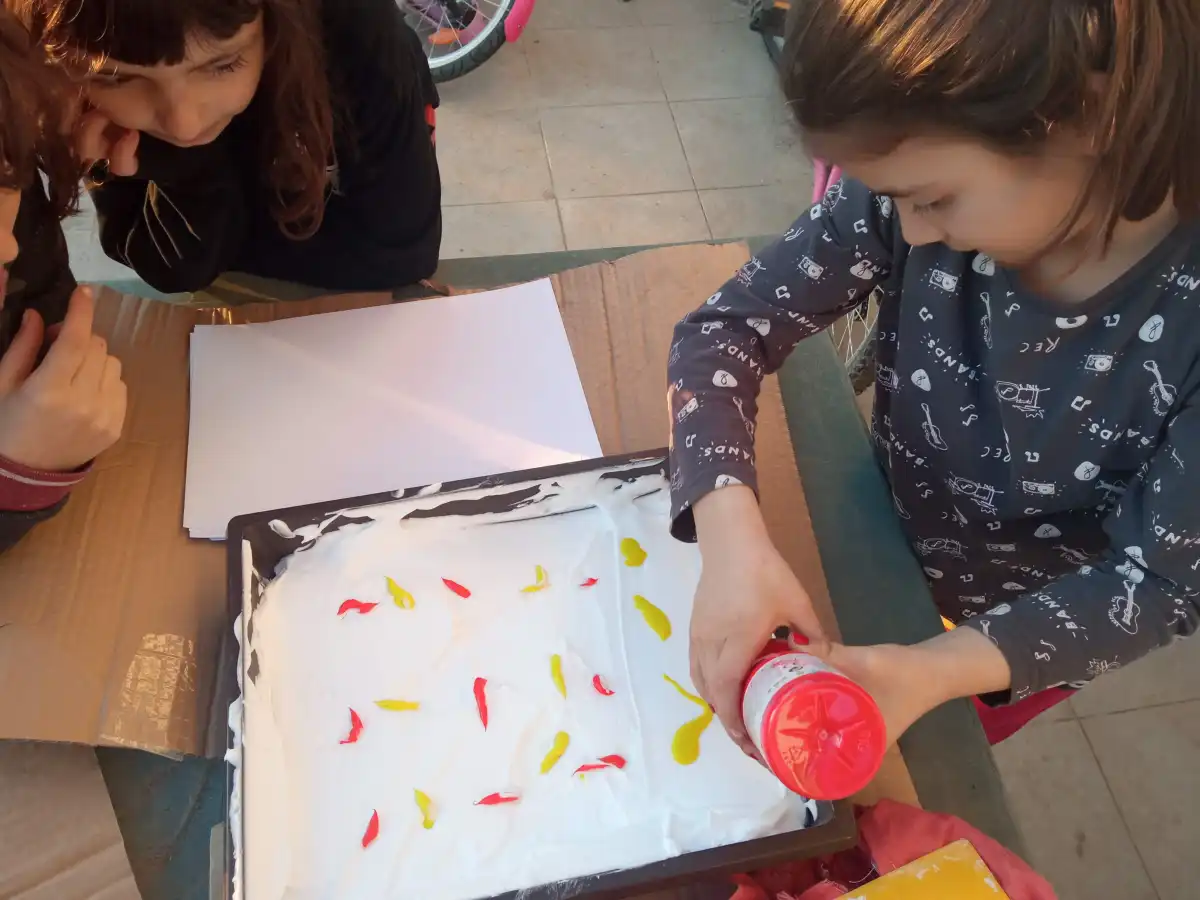
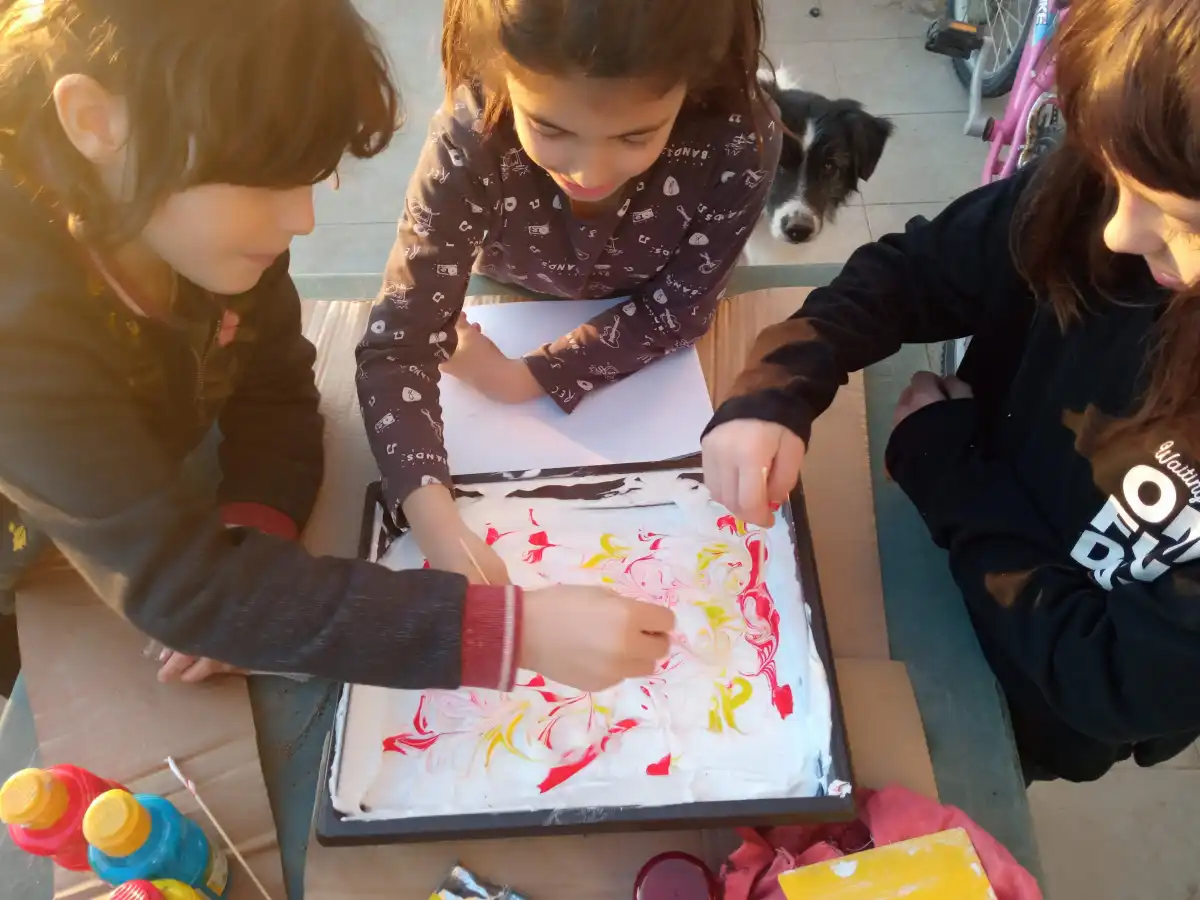
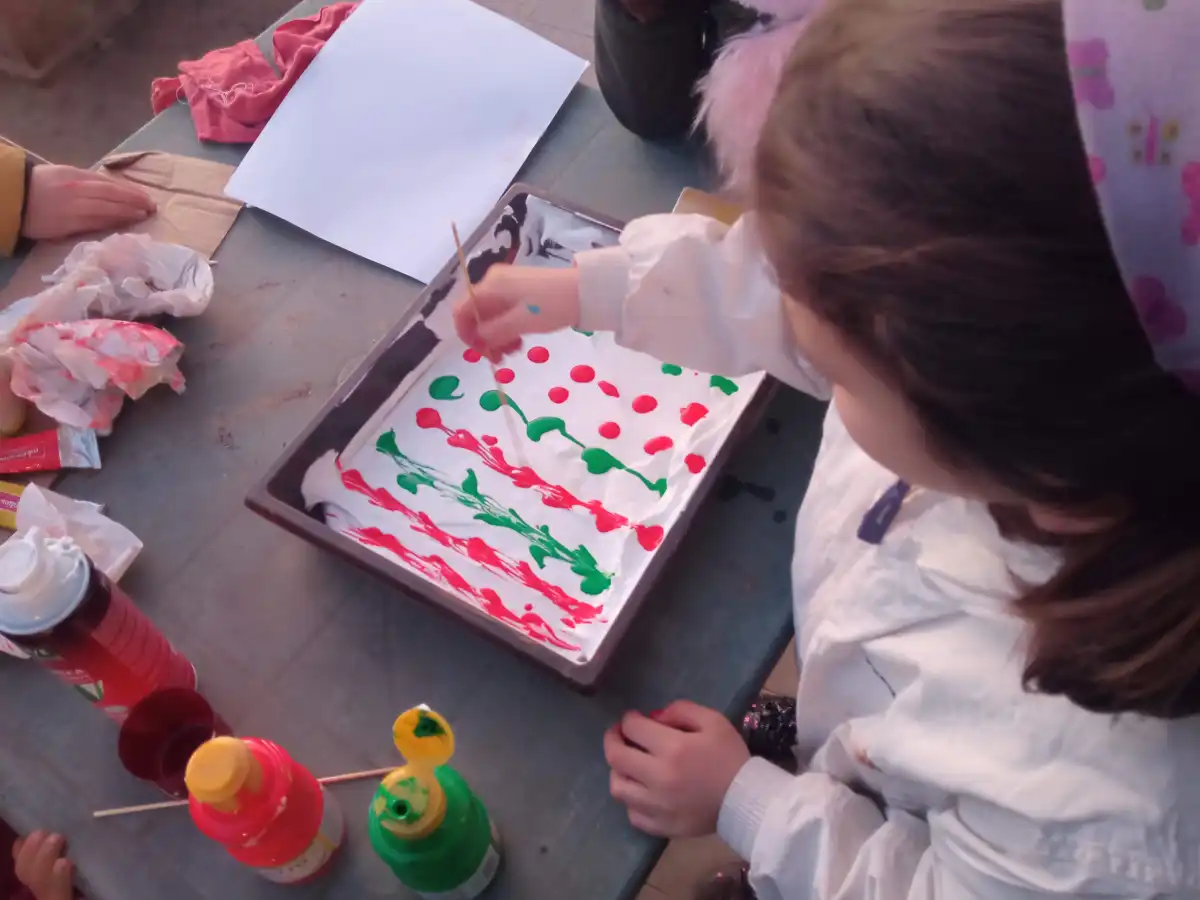
First, fill the shaving foam tray and spread it evenly until you get a flat surface and the colours are spread according to your taste and imagination.
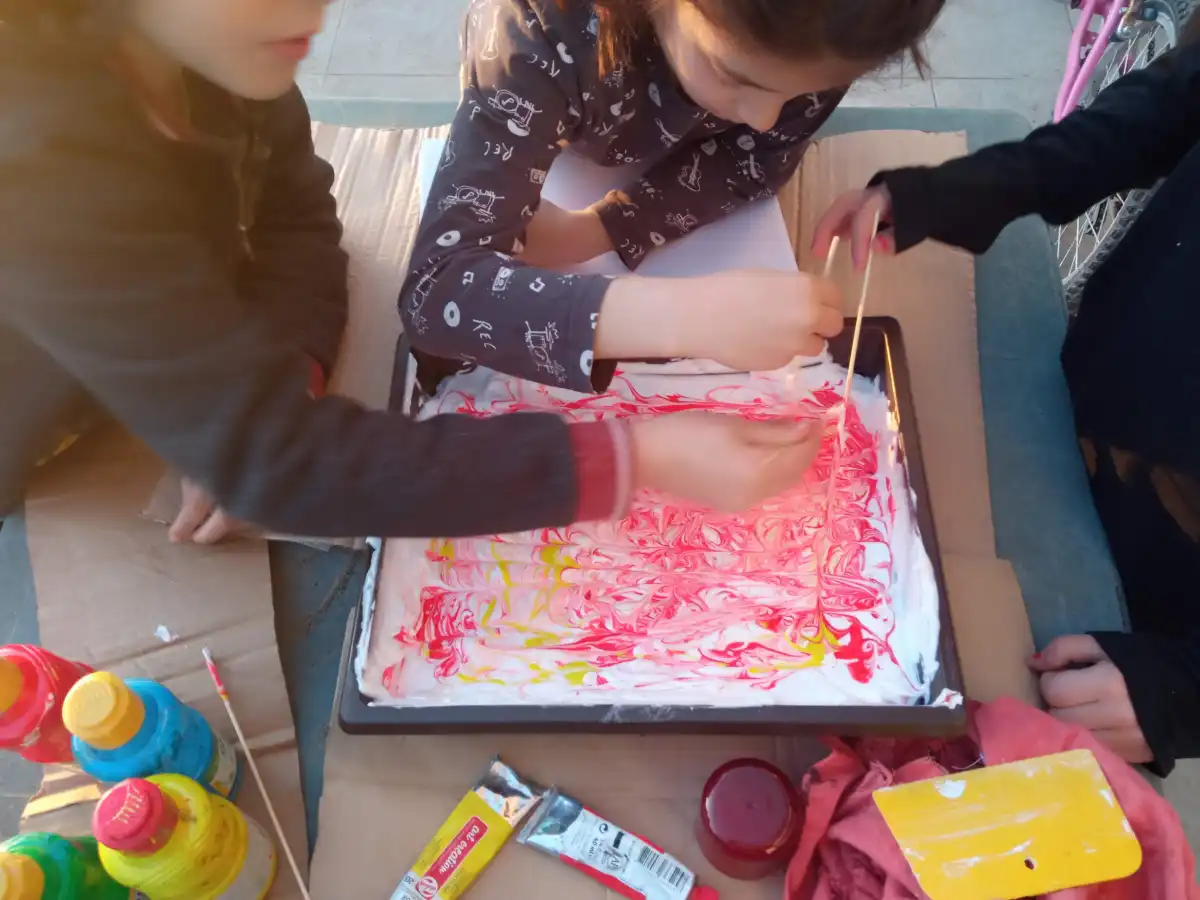
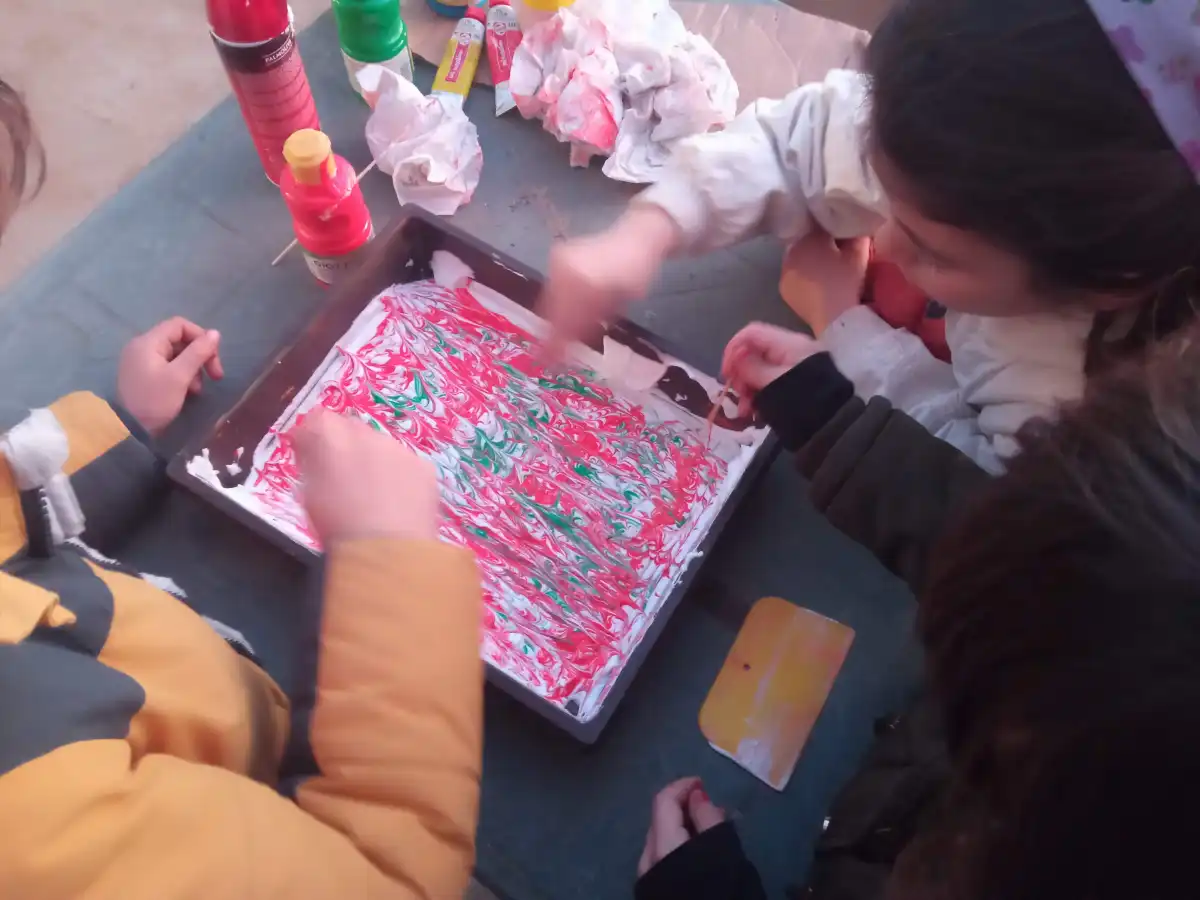
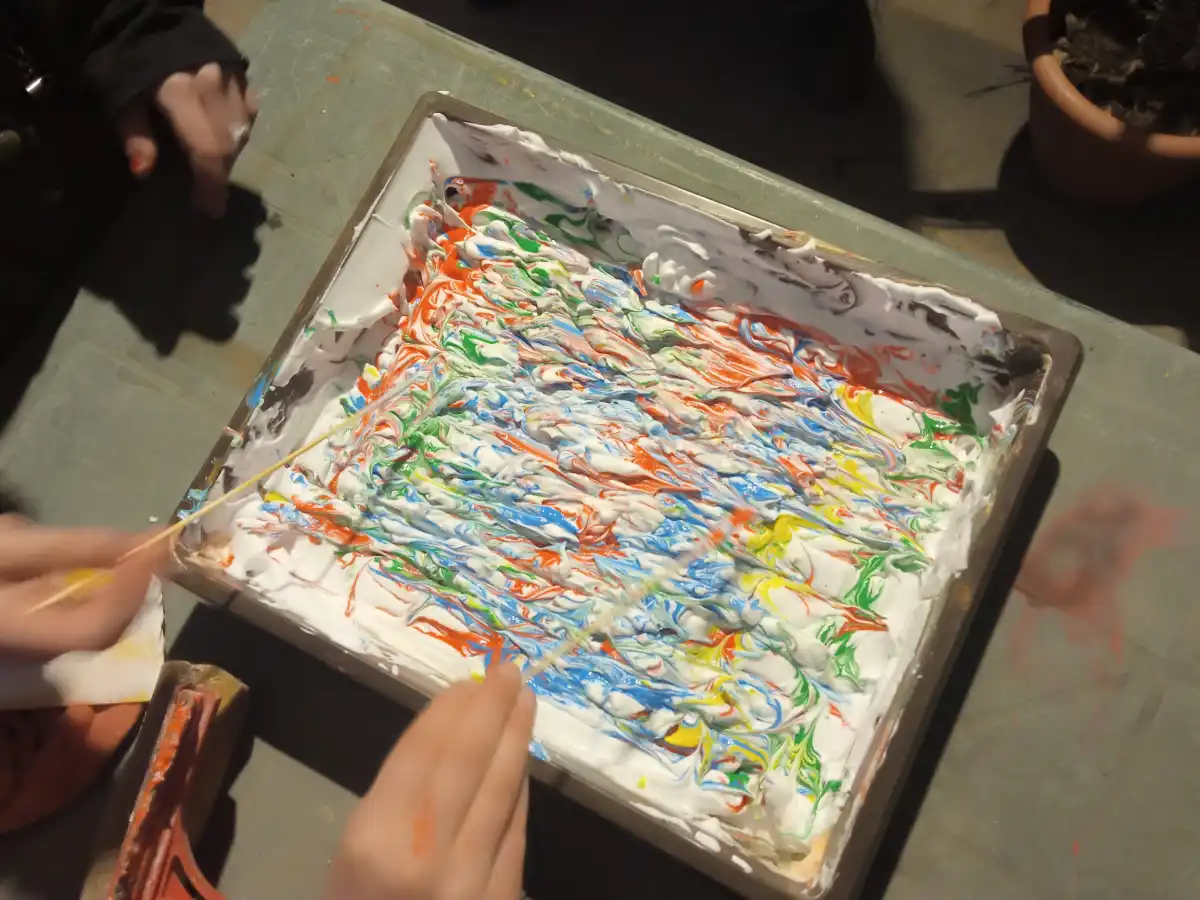
Then the real “artistic” phase begins, which consists in the creation of motifs into the shaving foam. Children should use a stick or similar tool to draw patterns and shapes on the foam. They could create circles, lines, geometric shapes or abstract patterns. It is important that the foam is not shaken too much, otherwise the motifs will get confused.
Print
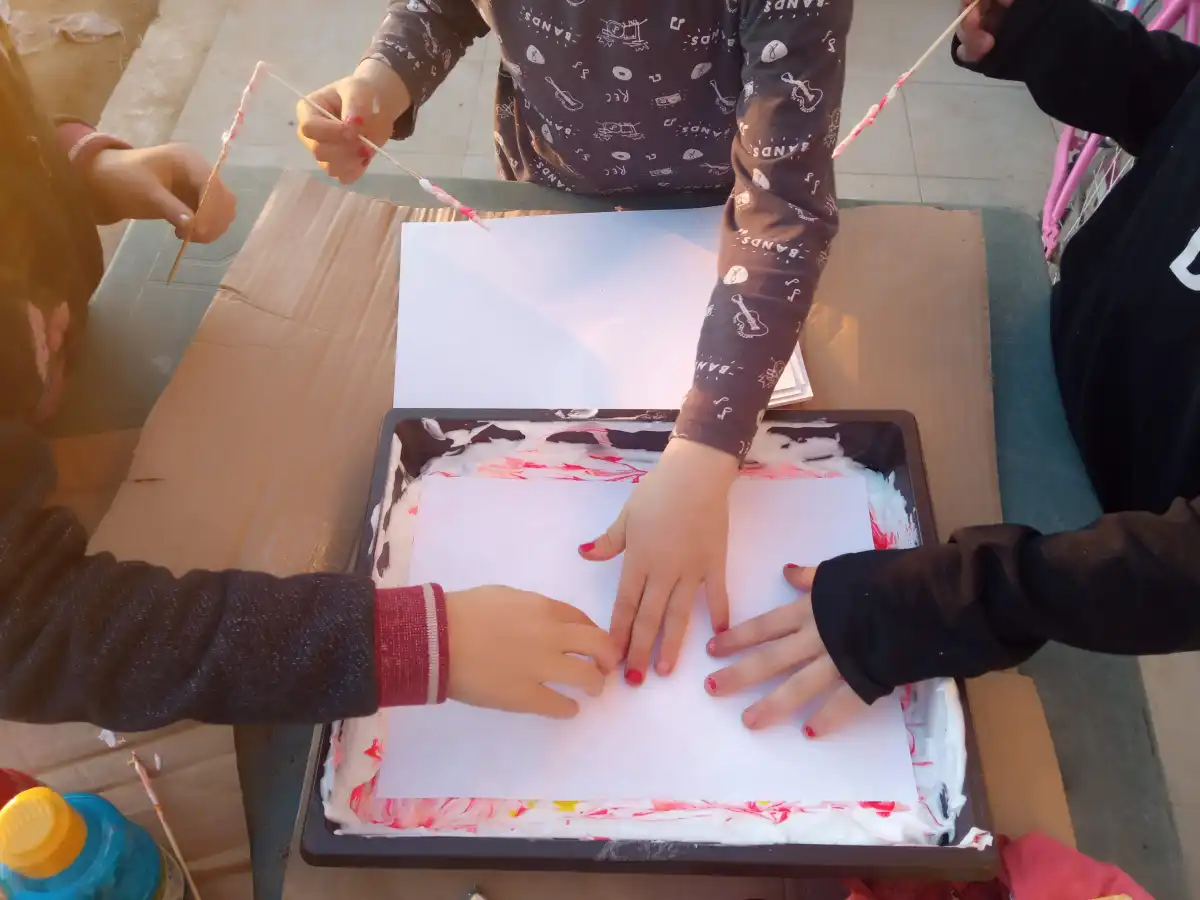
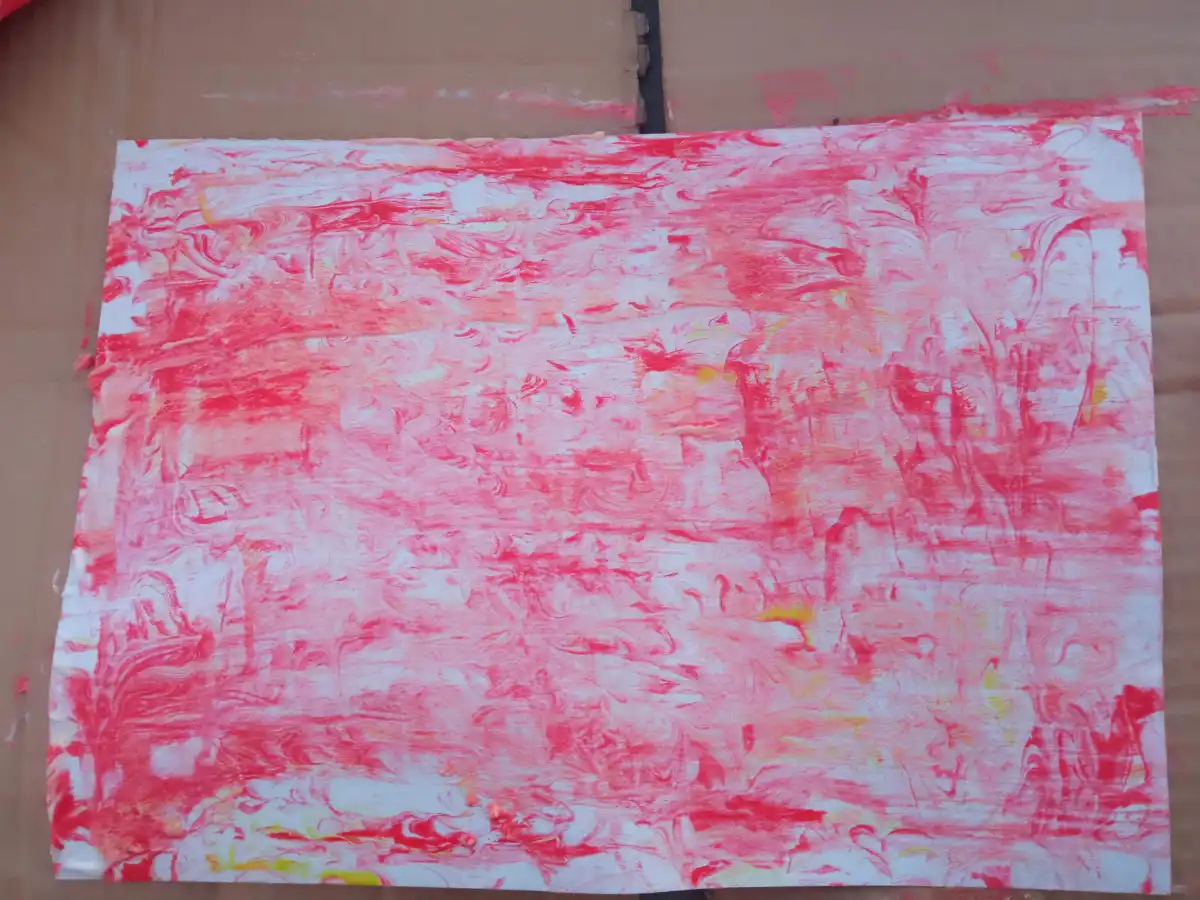
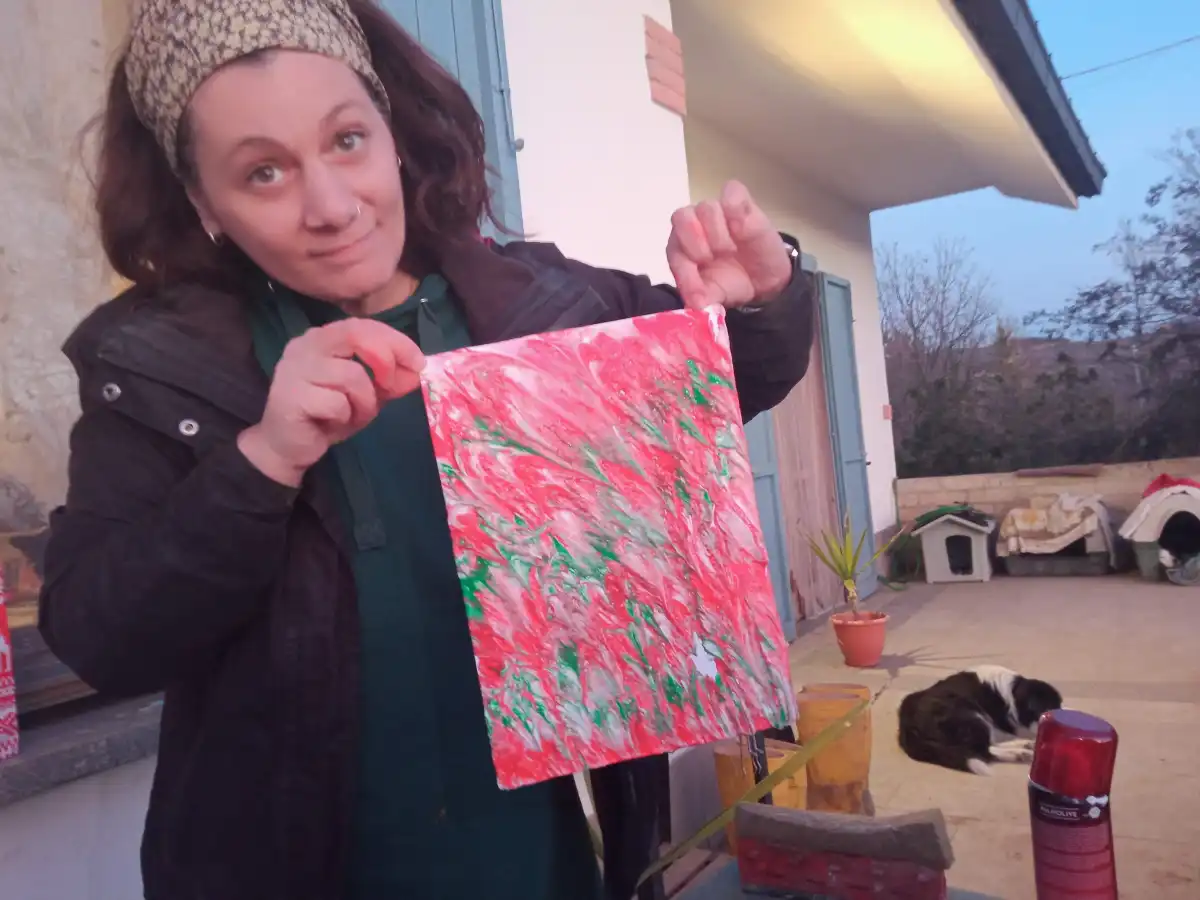
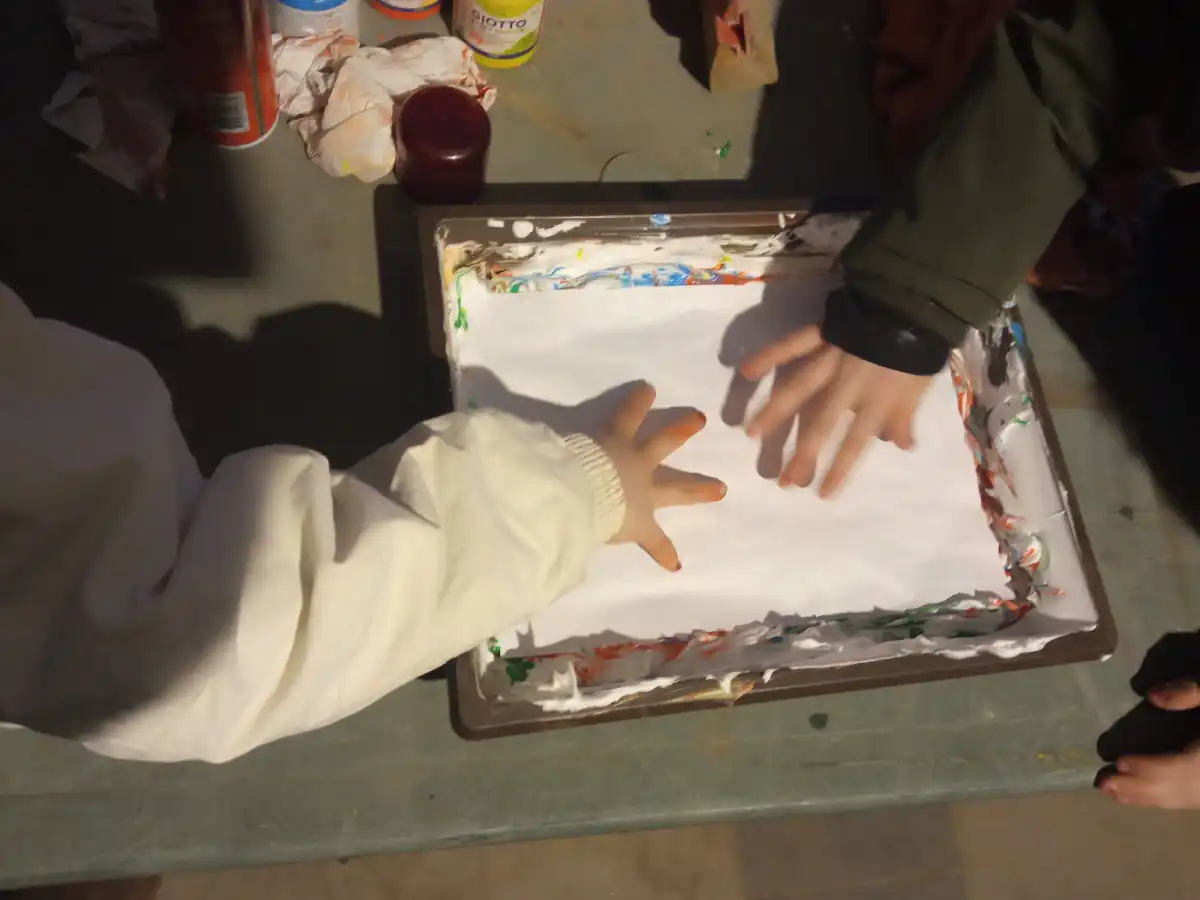
In the next step we will go to lay the sheet of paper on the surface of the shaving foam. Children should place the sheet under gentle pressure so that the patterns made with the colours in the previous stage are transferred to the paper. Once the sheet of paper is removed from the tub, the coloured foam will create the effect of a unique and coloured marbling.
Print processing
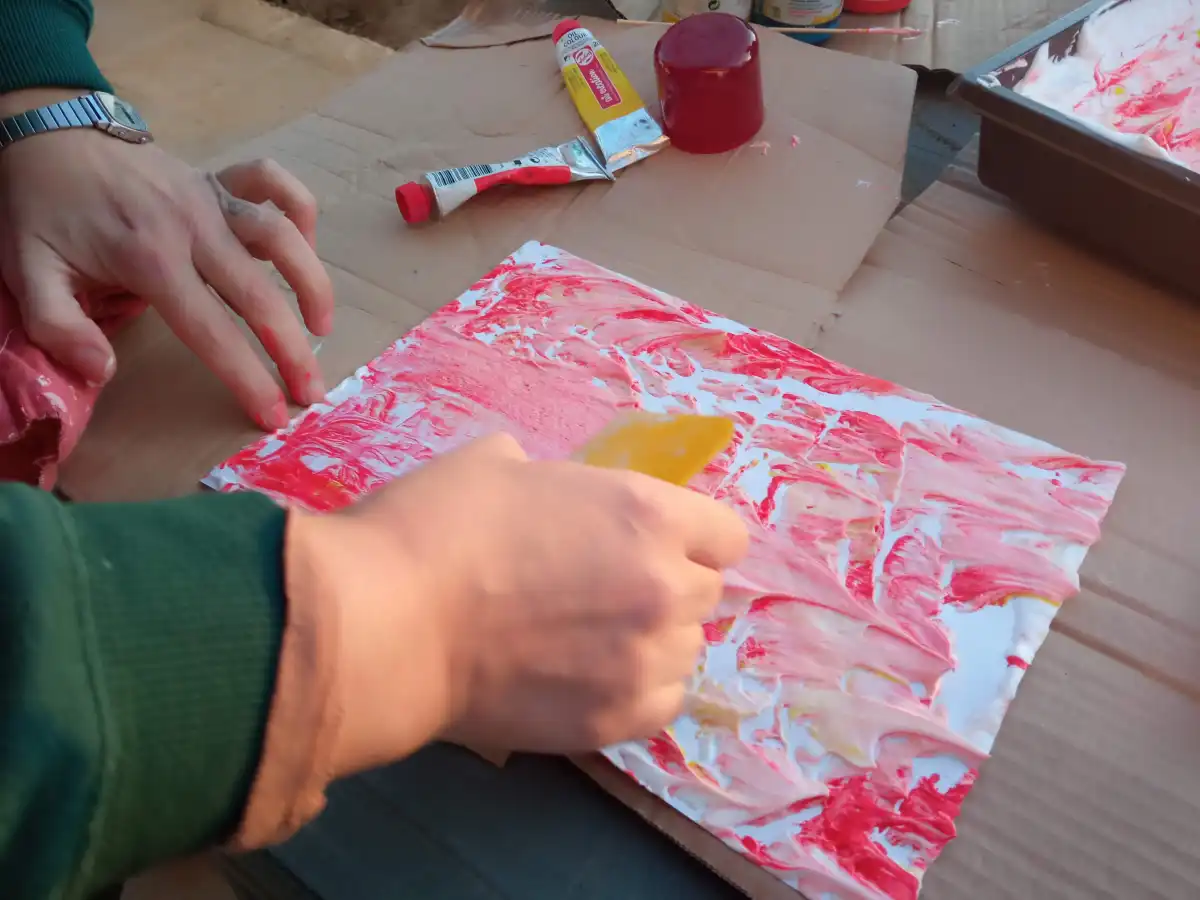
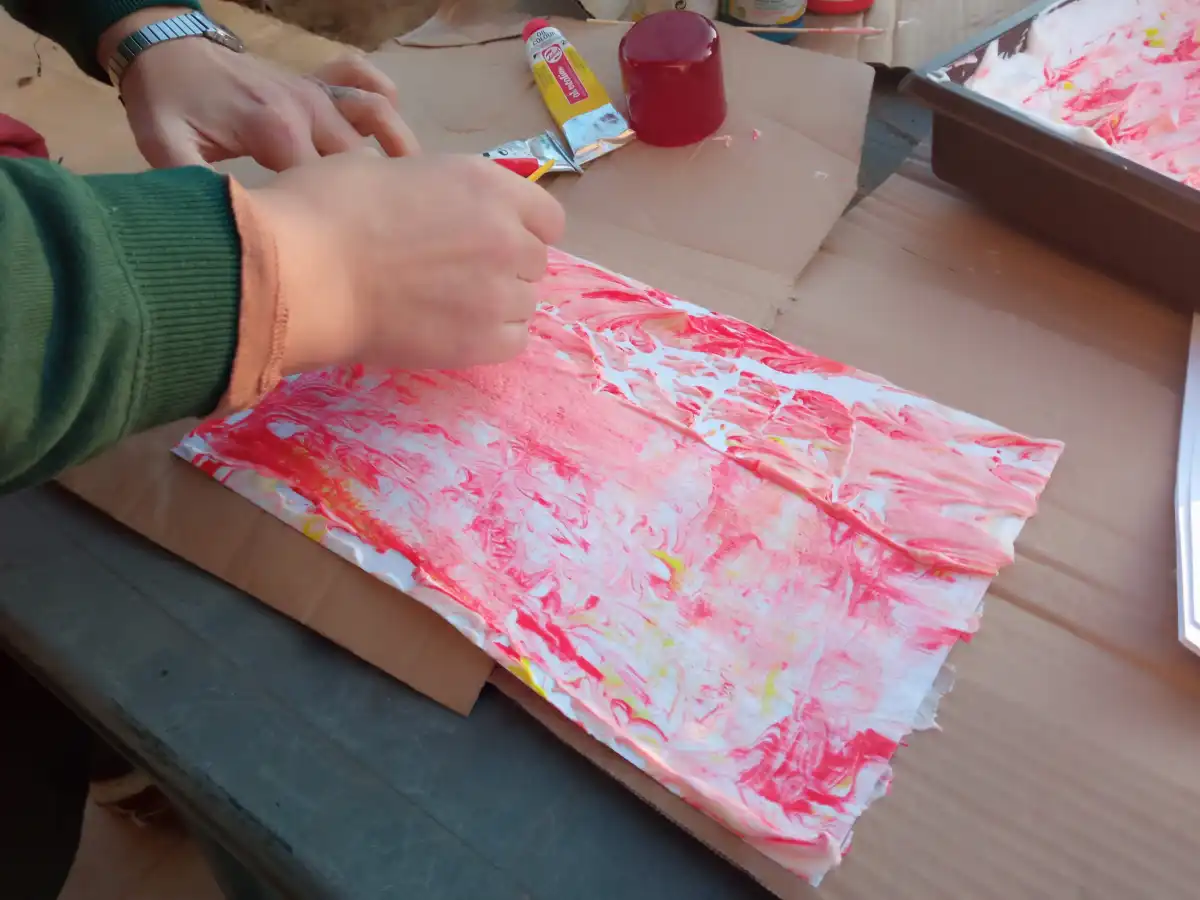
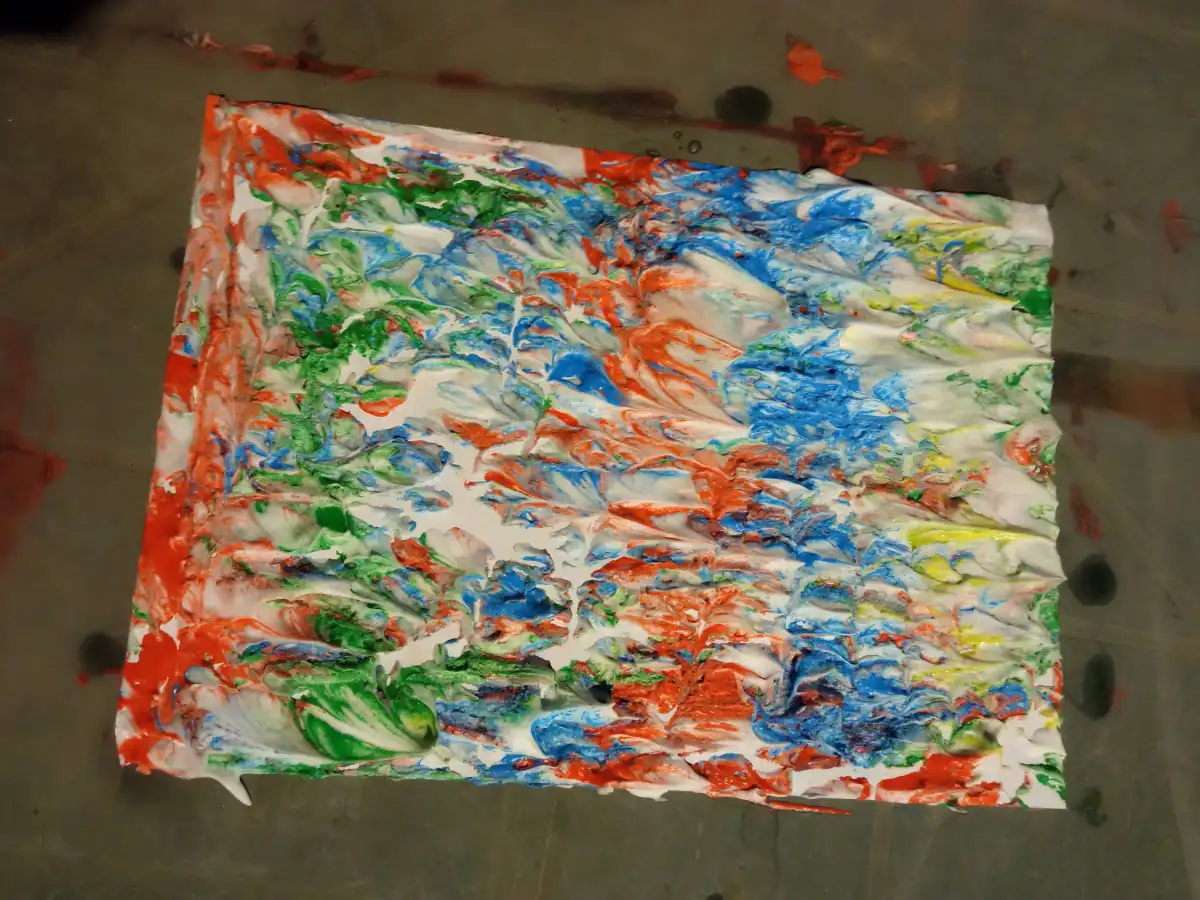
Once you get the print on the sheet you will proceed to remove the excess foam from the paper. Children should use a tool similar to a comb, spatula or ruler to remove excess foam from the paper, taking care not to spoil the patterns and shapes created on the foam.
Drying
Leave the paper to dry completely for at least 24 hours by hanging it or spreading it on a surface.
Cleaning
The sixth step consists in cleaning the tank and the tools. After use, the children’s bath, tools and hands should be washed thoroughly with soap and water.
Show
Finally, the seventh step consists in the presentation of the marbled paper. Children could hang their artwork in class or at home, or use it to create greeting cards, decorations.
Quick Info
| Addressed to: |
|
|---|---|
| Age range: | 5-10 years |
| N° partecipants: | Max 10 kids |
| Duration: | 2 hours |
| Required material: | None |
| Place: | Outdoor or indoor |
| Price: | NA |
| Notes: |
